I started with printing, cutting and coloring my image. These are the Copic colour combinations I used:
- sled: E43, E42, E41, E40
- chipmunk: E25, E23, E21
- penguin: W6, W4, W2, W0
- snowman: N0, B000, B0000
- blush: R32, R30
- nose snowman, beak and paws penguin: R02, R12, R01
- hat and scarf: B37, B16, B14, B12, R02, R12, R01
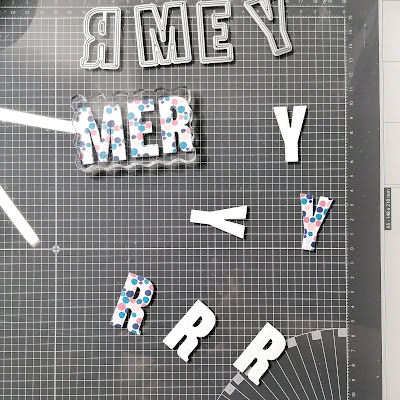
I diecutted the letters from 'MERRY' out of the Large Dot pattern paper. I also cut out the word twice, using scraps of white paper. That way I can create the word using 3 layers to create some dimension.
I cut out my base twice, using a die from my stash. Again, I do this to create some dimension.
I made a mask to create a hill, using a curvy die from my stash and some masking paper. Once the mask was in place, I used Broken China and Tumbled Glass Distress Oxide ink to create a coloured background, using the darkest colour at the edge of the hill. I didn't ink the top of the card.
I splattered some water on my card, and dried it with a piece of kitchen paper. Next, I splattered the card with some white acrylic paint that I mixed with a little bit of water.
I removed the mask and let everything dry. I glued the two pieces of paper on top of each other, and glued them on a white base card. I started gluing the 'MERRY' letters on my card, using my T-ruler to make sure they were straight.
I embossed the word 'CHRISTMAS' on a piece of pink cardstock, cut it in the right size, and put some foam tape on the back. I glued it under the word 'MERRY', using my T-ruler again.
And as a final step, I put some foam tape behind my coloured image, and glued in on my card.
I hope you like the result! Have fun creating!
Big hugs,
Tinne
.jpg)
.jpg)


.jpg)
Comments
Post a Comment